Saturday, December 18, 2010

Babushka Pattern

Many of you have asked for the pattern for the
Babushka Doll Pillow

that I made for my front porch. Here it is... complete with my pin marks and all :) I just scanned the pattern papers I used on a regular piece of paper. I did it on a light background, so it wouldn't take up much ink when you print it. You should be able to click on the images below and print.

This is a pillow I made for my mom in her colors. She loves it!


Patterns:


I cut the head, eyes, and hair out of stiff felt from the craft store.

I didn't use this apron, but thought I would include it. I just cut a strip of fabric in the length and width I thought I wanted for the particular doll.

Here are the body top's:
(I didn't have one for the V-shaped top.
I just used the pattern for the top,
and cut the bottom of it down in a V-shape.
You can be creative, and do whatever you want.


Due to the fabric stretching, you may find that you lay your top on your bottom, and the sides overhang. This is fine, and you can just cut off the excess so the sides match up.


Instructions:

(I didn't take pictures when I made these, but I can explain it.)

See my Basic Pillow Tutorial for instructions on making the pillow with an easy envelope back.

For the Babushka:
(Do all this before you attach the front of the pillow to the back!)

1) Cut out all the fabric pieces you need.
2) Using invisible thread, (found at Hobby Lobby) Stitch the face onto the doll top. I like the invisible thread, so I don't have to chance colors three times.
3) Then using the invisible thread, stitch the hair onto the doll face, and then the eyes. Do the eyes last, so you have them placed properly and not too high.
4) You will want to add any embellishments such as lace, and apron (gather to desired length, and add to body bottom), ribbon or buttons at this point. I found it was easier to add lace trim or ribbon, and turn the sides around the body top at this point, rather than waiting until everything is in place.
5) Pin the body bottom on the pillow fabric. Use lots of pins. I don't use fuse-able interfacing, so proper pinning is crucial.
6) Pin the body top on the pillow fabric, matching up the sides, and cutting away any excess you may need to cut.
7) Top Stitch the body bottom in place as close to the edge as you can. Zig-zag around the edges of the body bottom. (You probably needed to unpin the bottom of the body top to do this.)
8) Top stitch the body top in place, and zig-zag around the edges.
9) Finish by attaching the front of the pillow to the back. There you have it... easy peasy!


Thank you CRAFT SEW for featuring this tutorial!
Thanks
for stopping by!
Have a Happy and Creative Day!

Risa

I am linking!

Join  us Saturdays at tatertotsandjello.com for the weekend wrap up     party!

Wednesday, December 15, 2010

Kid Friend Gift, or Neighbor Gift

These gifts are great for kids to give their friends, or to give as family gifts to neighbors that have kids. My kids LOVE gumball machine's, and ask for one every time we see them. I thought it would be fun to give them out for Christmas, so I started looking to see if there were any gumball poems about Christmas. I found an example and poem here.

This is what you will need. Everything can be found at the dollar store, except the tulle rolls, and candy cane paper, which I purchased at Hobby Lobby.


1) Gumball machine
2) Gumballs
3) 12" wired pine sprigs
4) Cream twine
5) Pompom ribbon
6) Jingle Bells
7) Tulle - blue and white

You can pretty much see from the photos what to do with the supplies :)

I have found a couple versions of this poem online, and altered it to fit what I was doing. I think most people give out 12 large gumballs, and do it with a 12 days of Christmas theme. I just did a basic gumball machine, and didn't count the gumballs.

Here is my poem:

Santa Claus chews bubble gum,
He chews it every day.

Did you know that Santa Claus
blows bubbles in his sleigh?

Only a few more days 'till Christmas,
I hope it get's here fast!

I'll have to plan carefully...
To make my bubble gum last!

One gumball each day is all that I
will chew. With every bubble I blow...
Santa, I'll think of you!

These were super easy to make, and kids have LOVED them!

I had to do a few in blue, as many of the Dollar Tree locations were out of the red. That's why I brought in blue tulle. I think each gift ended up costing less than $2.50.

I am linking!

lil luna link   party button


Join  us Saturdays at tatertotsandjello.com for the weekend wrap up     party!


Have a Happy & Creative Day!

Risa

Tuesday, December 14, 2010

Sentimental Christmas & Mood Lighting

My daughter asked me the other day if I had ever been kissed under the mistletoe. I replied that I had, and she said, "I bet millions of times!" I don't know what kind of girl she thinks I was in my single life! Now, I reserve mistletoe kisses for my husband only! (Maybe a kiss on the cheek for my kids!) I thought I would take it a step further, and hang our very own mistletoe over our bed!

So, I got a bunch of mistletoe at the dollar store - complete with red ribbon and gold bells which I promptly removed. I bought ribbon and tulle to match our room, tied it all together, and hung it above the bed. There you have it. A little Christmas romance in the bedroom, for not a lot of money!


This next idea has been brewing for months! I wanted to do a sentimental tree in our bedroom. Did I mention Christmas lights are very romantic? Who am I kidding... I'm 8 months pregnant, and exhausted! At least I am trying - right? I try to do a sentimental or romantic gift for my husband every year, and this year was no exception. I just decided to stick with the sentimental ;)

I thought I was buying a white tree, but when I opened the box, it was silver. I actually don't mind it, and it works well with the bedside lamps. These photos make my bedroom look like it is painted a dusty rose, but it is actually more of a purple. Maybe I will post a bedroom before and after reveal.


The thing that makes this tree sentimental, is that I have thirteen framed photos of us on it. One for every year we have known each other. I had tons of fun looking through the old photos. I plan to add to it every year, and hope it will someday be a keepsake for our kids or grand kids. The day I set it up and my husband came home and saw it he really liked it! I don't think he would have if it were not for the photos. He probably would have just thought it was a waste of money. Would I ever waste money??? Well, maybe. We had fun looking at our old photo memories together. The kids have liked it as well.


This is a photo of us on our honeymoon in 1999!

What do you do to make Christmas special for your significant other?

I am linking!

lil luna link   party button

Join  us Saturdays at tatertotsandjello.com for the weekend wrap up     party!


Have a Happy and Creative Day!

Risa

Sunday, December 12, 2010

Christmas Traditions: Russian Doll, Nesting Doll, Babushka, Matroyshka

At our house every year, we like to talk about Christmas traditions around the world. The Russian legend of the Babushka (story below) is one of my favorites, because I like the story, and because I love the darling babushka dolls!

I had the idea to make these pillows for my porch for a while, and came up with a pattern one night, which I am happy to share if anyone is interested. Let me know, and I will post it. I had the fabric for these cut out for weeks, and finally got the energy and time to make them. I am so glad I did :) I didn't go with traditional Christmas colors, and I love the way they brighten up my whole porch! The fabric is from Hobby Lobby. I think it may be a new line? I don't know, but the second I saw it, I knew what I was going to do with it.

***Update!!! Due to popular demand...I have added the
Babushka Pillow Tutorial
Here!***


The Legend of Babushka

As retold by Mike Lockett, The Normal Storyteller

In Russia, there is a tale that has been told throughout the years about an old woman named Babushka. Perhaps you have never heard of Babushka? Hers is a sad story that is shared in Russia wherever there are children.

Old people nod their heads in agreement as they hear parents tell their children about Babushka. Children�s eyes scan the face of every old woman they pass during the winter months, trying to find this legendary person who visits the home of every child at Christmas time.

Her story started many years ago in a small home out in the country. She lived alone in a small hut that stood along side a crossroads where four roads met. Even though she lived far away from neighbors and far away from any town, during the summer months Babushka was entertained by wagons filled with hay pulled by donkeys carts loaded with vegetables pushed by farmers, riders on horseback and strangers passing by on foot. But, during the long Russian winter, only the sound of the birds she fed with the blackened crusts of wheatbread left over from her meals kept her company.

Her days were short, and her nights were long during the winter months. Babushka was frail and unable to cut large amounts of wood to heat her home. In addition, she was poor and could not afford to light up the cottage at night with expensive candles. This is why she spent much of her time in the evenings curled up beneath her warm quilts dreaming about spring flowers and warm sunny skies.

It was on one of those long nights when Babushka thought she heard the tinkling of bells and sounds like those made by travelers being carried on the cold wind. At first, she told herself that she only heard icicles clinking on frozen branches. But, the sounds grew louder. She did hear the sound of bells, but it was not the familiar sound of the bells on a troika, the traditional Russian three-horse sleigh. Nor, did she hear the neighing of horses or the braying of donkeys like most travelers would use. There were voices that grew louder as they came closer to her home, and she heard strange grunts from animals that were unfamiliar to her ears.

She pulled back the quilts and lit one of her precious candles and pulled her robe around her. She folded a scarf and wrapped it around her head and then held her candle to the window. As she scraped the frost off to see better, she was startled to hear a knock at her door. Opening the door, she was even more surprised to see a caravan stopped outside of her hut. Babushka saw three tall hairy beasts with long faces. Each had long, tall legs with padded feet at the bottom and a hump on its back. Sitting on the back of each animal sat a richly dressed man. The men were dressed in warm, expensive looking fur wraps and wore crowns set with jewels over cloths that kept the cold off their heads. The bells she heard were attached to the reigns the men held tightly in their hands. Each of the men had a number of servants with them, and one of these men was standing at her door trying to ask directions to a place she had never heard of before.

Seeing Babushka's confusion, one of the wealthy men spoke a command to the beast he rode. It knelt and allowed him to step off. "We are Kings on a long journey from a land far to the east, the man told the confused old woman. We have seen a wondrous star in the sky and have been following it. It is supposed to lead us to a town where a newborn baby lies. But, the star is blocked by clouds. Can you tell us the way to the next village where we can find shelter for the night?"

"Who is this child? And why are you trying to find him?" asked Babushka.

"The child is a King, and we go to find him and worship him, and we bring him gifts. Come with us Babushka," the man suggested. "You will never have this opportunity again."

But, Babushka looked at the dark sky. She felt the cold of the winter wind. Then, she shook her head and said, "Perhaps tomorrow in the light of the day, when the air is warmer."

But the Kings could not wait for the old woman to make up her mind and left Babushka alone in her home listening to the sound of the clattering bells as the animals the King called camels rode into the night.

By morning, the tracks of the caravan were filled with snow making Babushka wonder if her memory of the night visitors was real or only a dream. Still, she kept thinking about their quest to find the special child. She had no children of her own, no one to love and no one to love her. The more she thought of the invitation to go with the Kings, the sadder the old woman became.

Finally, the old woman could stand the sadness no more. She wrapped her warmest scarf about her head and pulled her cloak and a shawl about her shoulders. She filled a basket with breads and sweets and gifts for the child and left her empty home behind forever. She walked through village after village asking people about the special child who was a King. She told them about the visit by the Three Wise Kings and the star they followed.

She carried treats and small gifts with her, so children would not run away when she tried to look closely at them and see if they were the special child she sought.

The years have passed, and old Babushka probably doesn't even realize that the baby grew up long ago. She still runs fast along the crowded streets and over the country fields tired and out of breath trying to catch up with the Three Wise Kings and find the special child. She only stops at Christmas Eve as she searches through every nursery looking for the child that is Christ the Lord.

She has a special fondness for babies. She bends over their cradles, looks closely at each child before dropping a tear on their pillow when she sees the Christ Child is not there. She gives each child she finds a small present and a piece of candy from her basket or apron pocket before hobbling away to continue searching for the Christ Child.


Have a happy and Creative Day!


Risa


Linking to:


Today's Creative Blog


lil luna link   party button


Join  us Saturdays at tatertotsandjello.com for the weekend wrap up     party!


Tuesday, November 9, 2010

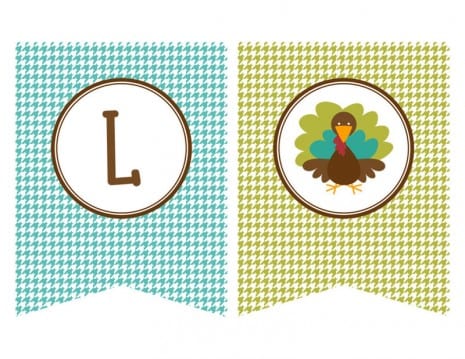
Free Thanksgiving Printables

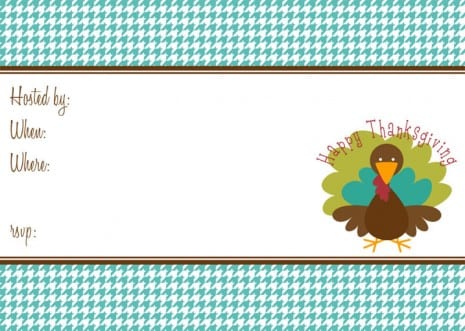
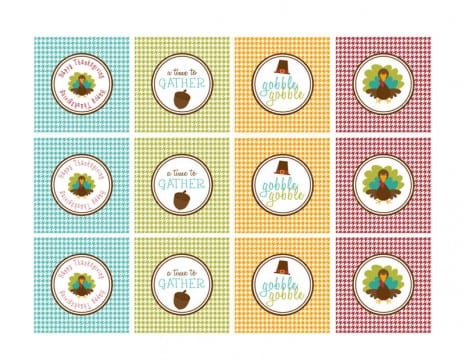
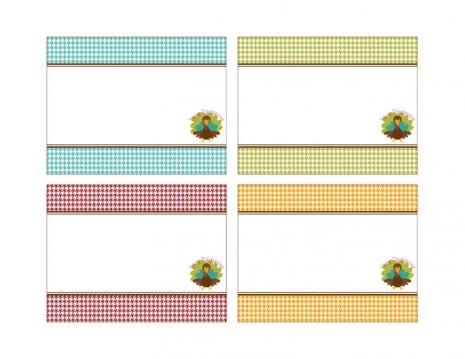
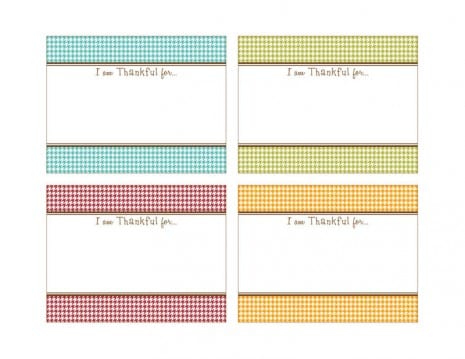
Remember the free Halloween printables I shared last month? Well, Kelli from the Paper Dolls Shoppe, has now designed these adorable FREE Thanksgiving printables! Thank you, Kelli! I found out about them through facebook on http://blog.catchmyparty.com.

How cute are all these? I love them.

Thanksgiving invitation

Party circles great as cupcake toppers or labels

Folded cards great for place cards or labeling dishes

Cards to write down what you're thankful for!

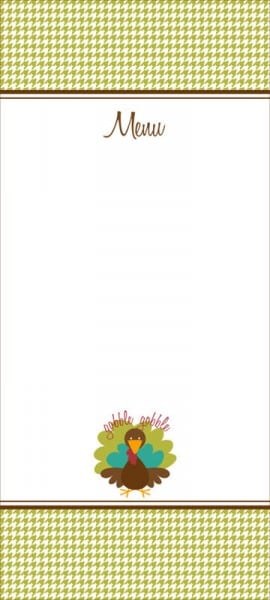
Menu

"Thankful" banner


"Thankful" banner

"Thankful" banner

"Thankful" banner

"Thankful" banner

To receive the high resolution pdf files for the printables, please visit the Paper Dolls Shoppe and convo Kelli that you are interested in the Thanksgiving printables giveaway. Thank you again Kelli, for sharing the Thanksgiving love!


Have a happy and creative day!


Risa

Saturday, November 6, 2010

Thanksgiving Kids Table

Last year I hosted Thanksgiving at my house for the first time. I didn't have enough room to put the kids at the grown-up table, and I wanted them to still feel special, and I made their table extra colorful and festive!


I used place mats I already had, and just cut a square of orange burlap to punch up the color, and go under the salad plate.


I used the same turkey napkin holders as I had on the adult table, but made kiddish napkins for them to use. I also made the tablecloth. I got all the fabric at Hobby Lobby, as well as the pumpkins on each plate, and the centerpiece.


The kids loved it, and I think they felt special!

This is what I plan to do this year for the centerpiece... I got the idea from One Charming Party. She has great ideas. You should pay her blog a visit!


These darling corn cobs are so fun, and unexpected! I can't wait to get together with my crafty girlfriends and make them!

I plan to use the same linens and dishes this year as I did last year, but I want to make the darling turkey for the center piece, and corn for each child.

What are you doing for your Thanksgiving Kids Table?

I am linking!

Join  us Saturdays at tatertotsandjello.com for the weekend   wrap    up           party!


Thanksgiving Table

I admit it...

Yes, I love dishes.
Yes, I love linens.
Yes, I love having a formal dining room.

If you are very familiar with my blog, you know I love decorating my formal dining room for the holidays, and I especially love Thanksgiving. This is my formal dining table which stays up through the month of November.


I LOVE my turkey napkin holders!

These napkin holders are from Robert's. I got them last year.

The goblets are from Honk's Dollar Store.

My nice thoughtful husband got me the set of dishes and silverware. I have service for 24, and I love to use them whenever I get a chance.

How are you decorating for Thanksgiving?

I am linking!

Join  us Saturdays at tatertotsandjello.com for the weekend   wrap    up           party!

Sunday, October 31, 2010

Halloween Wrap-up: Part 2, Kids Rooms

On the first Day of October, the kids come home to a bedroom fit for a Ghoul or Goblin. I did basically the same thing this year as last year... so a couple of the photos are not the most fabulous, but they work... right?

Halloween Trees:

My crafty girlfriends and I saw these darling trees in Ben Franklin last year, and decided to give it a go for our own houses. I decided to put one in each of my kids rooms. They were SUPER EASY to make. We even came up with a few ornaments of our own.

This tree is in my daughter's room:


This is the tree in my son's room:


The ornaments were made using glass ornaments, and filling them with paint (glow-in-the-dark for the mummy) beads, or puff balls, and then embellishing them however we chose.


I also hang Banners:


Halloween blankets:

So, when I saw this fabric, I knew I HAD to OWN it! So cute - right? I had been wanting to make warm snugly Halloween blankets for my kids for a long time, and this fabric gave me the perfect excuse. They have LOVED snuggling up in their Halloween blankets all month, and were asking about them starting in September.

This is my son's:


This is my daughter's:


They are backed with minky, and oh so SOFT!


I even like to use them if I am watching tv.

This year, I added to the decor, using an idea I found on lil' luna.
Here is the link to the tutorial.

Halloween Paper Centerpiece:

I decided to use monster paper I got at Roberts.
(Again... something I saw, and had to figure out a use for!)
I used foam from the dollar store, and boxes from the dollar store. I sprayed both black. I used BBQ skewers. I probably should have painted them as well, but I got impatient.

Here is my daughter's:


Here is my Son's:


I do other things, like replace the light bulbs in their lamps with black bulbs, just to trick them :) It worked, and they liked it!

Have a Happy and Creative Day!

Risa


Related Posts Plugin for WordPress, Blogger...